

I decided to dye my hair at home the other day because I seriously needed a change and something fun to do during my birthday under quarantine.
I was definitely a little scared because if I messed up there wasn’t any hair salons open in San Francisco haha lucky me, hair came out better than I expected!
Some of you loved how my hair came out and asked me some questions on how I did it and to be honest with you I do have some secrets that I could share with you all.
I used to dye my hair at home all the time when I was an au pair and l learned so much from the mistakes I made. So let me tell you some things I learned and also break down the process I used to get a blonde balayage look at home.
Two important tips before you start:
– Understanding your hair color is very important before you dye your hair at home. My hair color is dark brown with red undertones and that means that if I decide to go lighter my hair turns red. Most dark hair colors have red undertones.
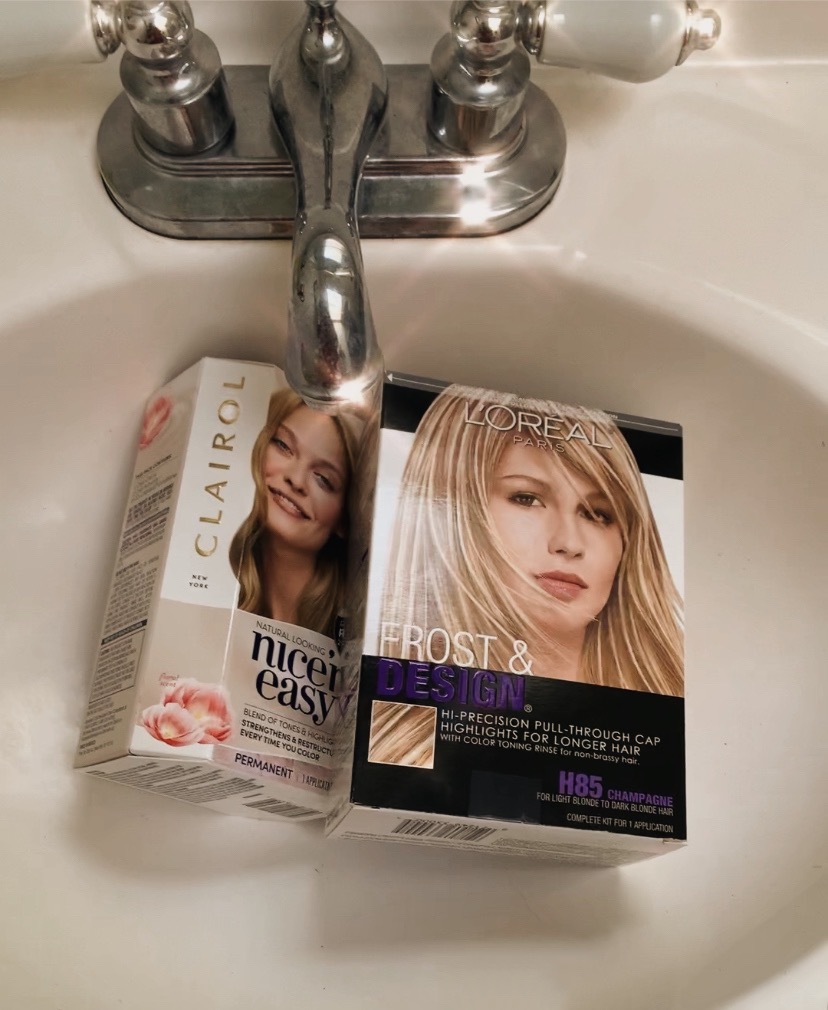
– Pick the right brands. My two favorite brands are Nice and Easy and L’oreal.
To Achieve my Balayage at home:
1- I bought the L’oreal Highlight Kit Champagne color for long hair and Nice and Easy Ash Blonde Permanent Color. If your hair is very long you might want to get two of each.
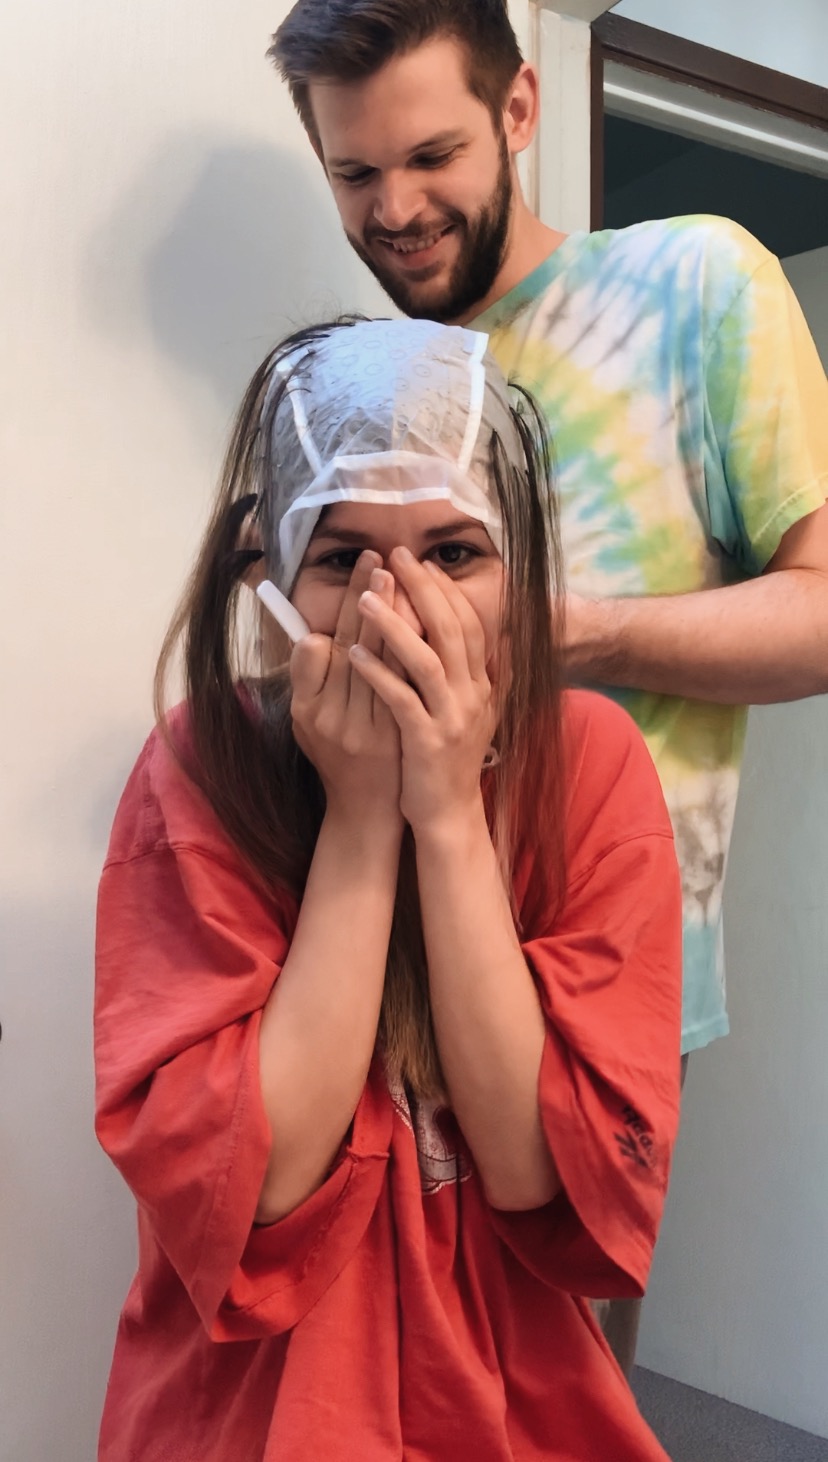
2- START WITH THE HIGHLIGHT KIT. The kit comes with a hair cap, two hooks and all the products to bleach hair. I placed the cap and started pulling my hair with hook. This time, I asked Mike to help me do the back but I’ve done by myself before (it’s a little hard). I pulled a lot of hair because I wanted my hair to be really blonde at the ends but you can control if you want a lot of highlights or just some.
3- I read the instructions and mixed the products then I applied the mixture to the hair I pulled from the cap. This is VERY IMPORTANT: apply the mixture at the ends FIRST and blend it slowly to the top so you won’t see a line, making as even a gradient as possible. I did not apply any bleach to the top of my hair because I wanted to keep my natural hair color there and have a nice ombre look. Grab a small section of your hair in the front and apply the mixture from the top to the bottom.
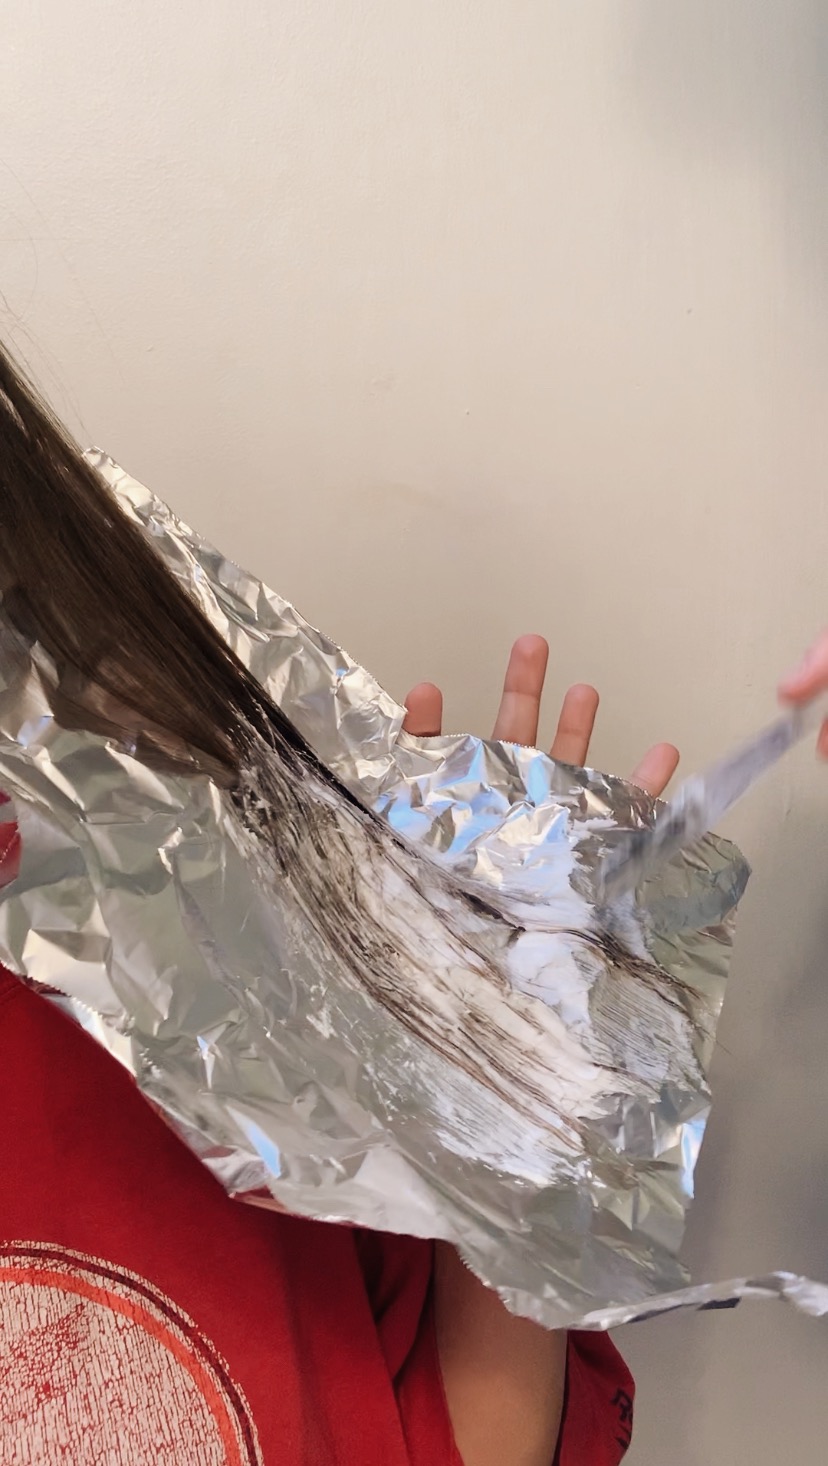
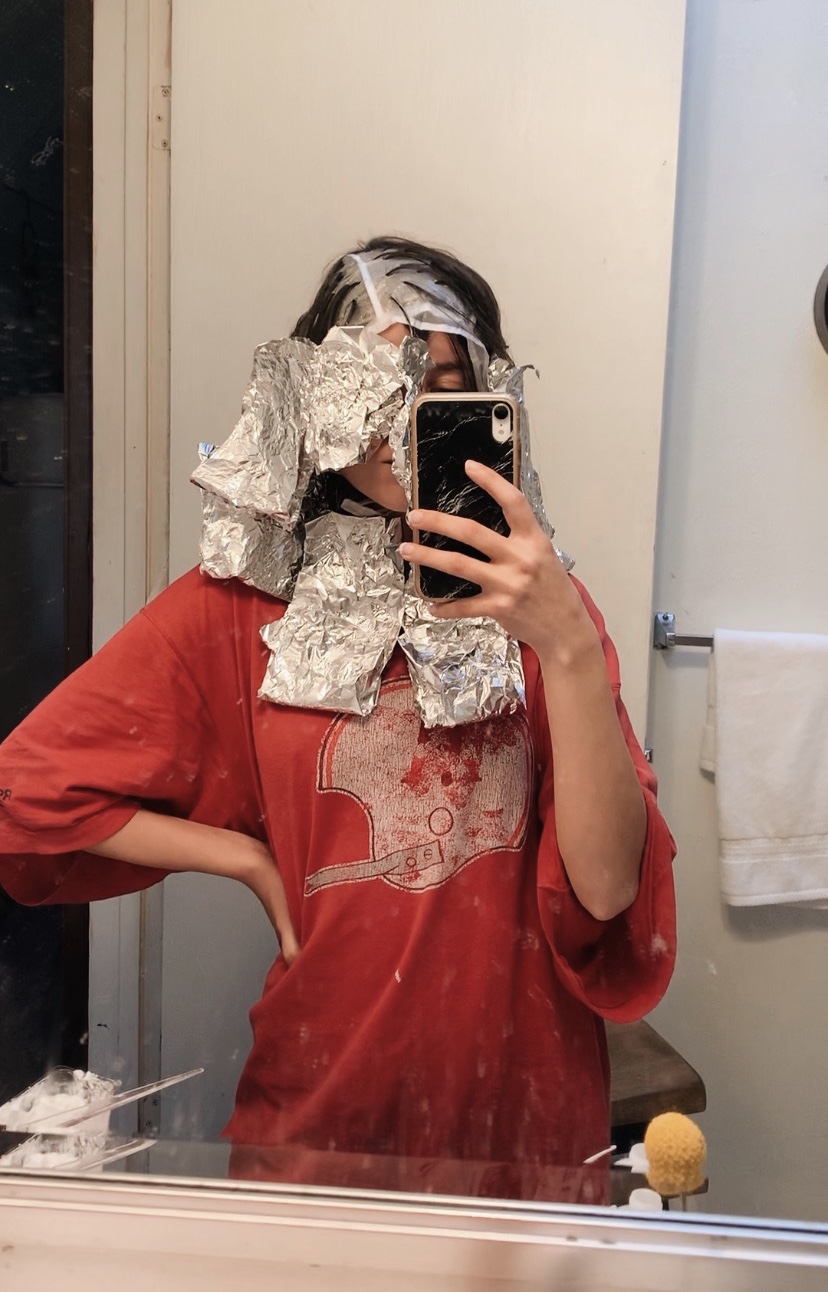
4- I used aluminum for two reasons: first, to separate my hair that way is easier to apply the mixture, makes it so you can kind of paint the mixture on top of the foil. Second, because it helps to bleach the hair faster. Once I finished applying the highlight mixture I used my hair dryer to help my hair decolorate faster. Heat helps a LOT.
5- I don’t usually pay attention to how long it says on the box to leave the product in your hair. What I do instead is just constantly check on my hair after 15-20 min. My hair is pretty dark so It took an hour to see the results I wanted. The color was very blonde almost white at the ends and a little redish as I get to the top.
6- Once hair looks done (very blonde) wash it off with water and remove cap.
7- USE THE COLOR BOTTLE FROM THE COLOR KIT: Take the JUST the color bottle from the Ash Blonde Color Kit and use it in the shower when hair is wet. Apply the color starting JUST on the highlights and then just to all your hair. Leave the product for a few minutes (maybe 7 min?)
8- Wash hair and DONE!
PRO TIP: My hair had a little brassy color after I finished, so I used a lot of purple shampoo when I washed my hair the first time. The second time I washed my hair I applied purple shampoo on my dry hair for a few minutes (5-7min) before I shower. It helps toning down red tones and brassiness.
I really hope these tips helps you if you decide to dye your hair at home. If you have more questions just let me know
xx
Gabriela
2 Comments